Showing posts with label svg file. Show all posts

Saturday, February 2, 2019

Carter's Fourth Birthday!


Happy Birthday to Carter!  I can hardly believe my grandson is already four years old.  Time certainly flies!

Carter loves all things Disney (and Paw Patrol and dinosaurs and trucks and...) so  it is relatively easy to come up with an idea for him. And there is no one who does Disney better than Ducky's Designs (thank you Ellen for this GREAT file!)  It cut beautifully and was fun to play with different ideas to make this card even more fun.  I hope he liked it. (we had to leave the party early so I missed the opening of the presents...)

It is hard to capture all of the detail in the card, but the background is foiled in a  blue and gold foil.  I added Glossy Accents to the frosting to make it shine and also added it to the eyes with extra glitter for fun!  This card makes me  happy.


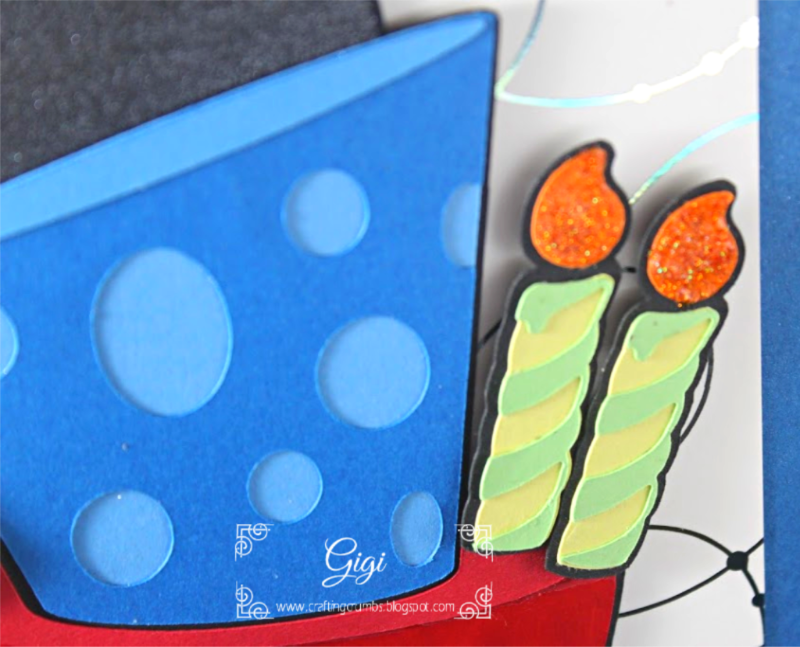
I used Nuvo glitter drops on the candle flames to make them sparkle.


Spectrum Noir sparkle pen in black gave the Mickey head a great glimmer.
And check out his name.  That was done with the pen tool on the Silver Bullet Platinum.
I don't know why I don't use the pen tool more often - I love the results!


HAPPY BIRTHDAY DEAR CARTER....


Pin It Now!

Tuesday, October 10, 2017

A Special White Rose - to Honor the Loss of a Loved One...

Not too long ago, a dear friend of mine suffered the loss of her husband.  It had been a long well-fought battle against cancer, and unfortunately the cancer just would not give up.  We all know so many people who are fighting this dreaded disease right now and my prayers for strength go out to all of them.

So...how do you send a card to someone who has experienced such an extreme loss.  The words are difficult as are the images to choose.  So I thought about their love and how devoted they were to each other, and felt the white rose was the best image to express the beauty of their love that I know lives on into eternity.


A bit of a closeup of the Power Poppy Rose & Chamomille digi stamp.
I love the detail in the drawing and how delicate it appears...

This is the first part with the large rose sparkle embossed on
platinum vellum. I added a few gold pearls to compliment the gold card base.


 I created the center bud pop out so I could add it to the rose image
and get a dimensional effect.  I think it made it look even more ethereal.


God bless and be with my dear friends who may be physically separated, 
but  forever together in heart and soul.
I love you so.

Pin It Now!

Tuesday, June 25, 2013

A Rose for a June birthday!

It was time to make a birthday card for a dear friend and I was at a loss for an idea until I thought about doing a birthday flower.  And lucky for me it was a rose as that gave me a lot of options - well it would have had I not waiting until the day before to make it.  I used make cards weeks in advance of a needed date, but those times seem to be part of the past!!

I knew that Dominic (Crafty Vector) had wonderful flower file cards that needed very little embellishment, so I relied on his rose to make my card.

My Silver Bullet Professional did an awesome job of cutting this file, so well that I will be able to make two cards from one file .


The card front turned into the birthday card, and the remaining pieces, on the right, will be a card later in the week!  I cut out two shadow layers - one in a slightly lighter color to go behind the rose on the left and provide some contrast, and the second was out of double sided adhesive to pick up the pieces on the right.

Here is the finished card.


I also quickly (the afternoon of the celebration!!) decided to make some monogrammed notecards for her, using my FoilMaster that I am loving!

I have learned that if I print on the laser at a dpi of 1200, I will get better results.  Unfortunately because I was in a hurry I didn't catch my mistake and printed at a lower dpi, so the foil did not adhere as well as I know it can. It gave the monogram a sort of enameled effect and she loved them so that's great!! 

Next time I will be more careful and try not to get an idea at the LAST minute!!  I am eager to make more monogrammed notecards as this was really fun!


This was the basic printed notecard.  The filigree on the top and bottom was done in silver on 4 of the notecards and gold on the other 4.  The monograms were all a different color.


I am still struggling with getting good photos of foiling, but this at least shows the blue and the gold!

The final product was placed in a plastic card box with 8 vellum envelopes and tied with twine!


It was a fun project that I am eager to try again!
Pin It Now!